No Time? Jump right to the Recipes here:
Around the age of 6 months, your baby hits another milestone. Your loved one is ready to start with solid foods.
To get you prepared to cook your loved one homemade baby puree, I created a list of 10 Stage One Baby Purees that your Baby will love.
These Stage One purees are perfect beginner purees for your baby because they
- are non-allergen
- help baby’s digestion and
- are easy to find in any grocery store.
Another advantage of these Starter Baby Purees is that you can cook them in batches and most of them are freezer-friendly.
So you don’t need to stand in the kitchen all day but still have something healthy to offer your loved one.
So grab your kitchen utensils and let’s cook some amazing Baby Starter Purees.

Quick Links:

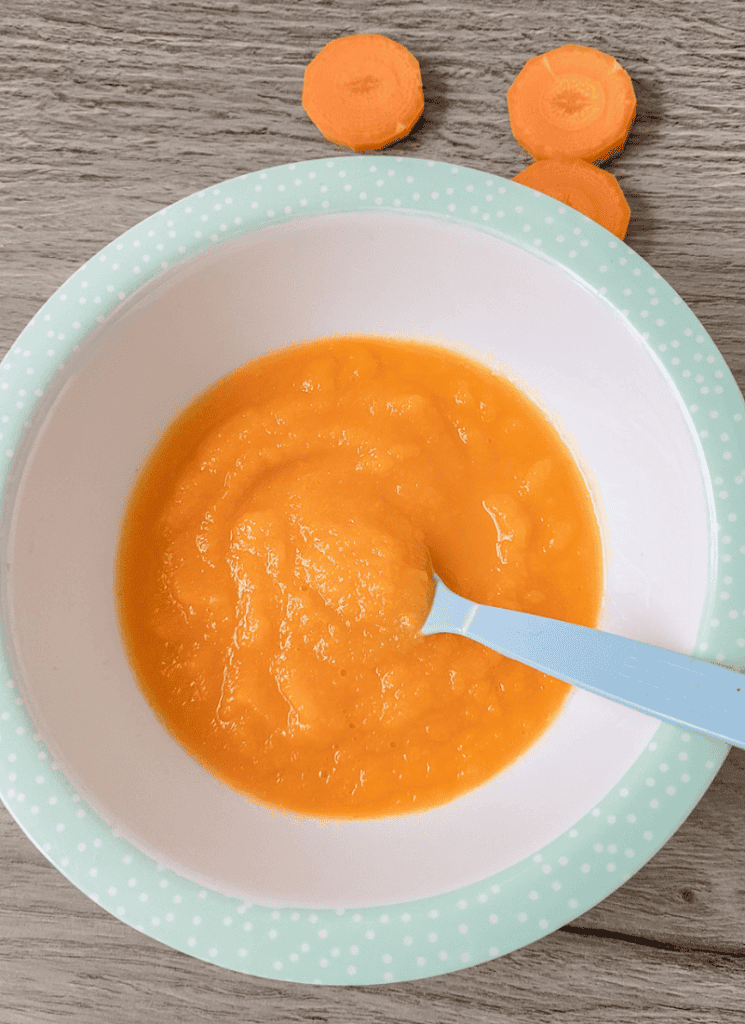
Carrot Puree
Age Recommendation: 6 months+
What Are the Benefits of Carrot Puree?
- Full of Beta carotene, which is needed to produce Vitamin A (good for eyes, skin and immune system)
- Full of Vitamin K that helps with blood clotting
- Easy to find in any grocery store
- Freezer-friendly
Step-by-Step Instruction for Homemade Carrot Puree:
- Wash and Remove ends: Wash and remove the ends of the carrots.
- Peel and chop: Peel and chop carrots into equal-sized pieces.
- Steam: Steam the carrots in a steamer basket until soft -reserve the steamer water because it contains important nutrients.
- Let cool and blend: Let the carrots cool. Then blend them until smooth.
- Add steamer water: Add steamer water in little steps to get the desired consistency.
- Serve or freeze: Serve carrot puree right away or freeze it for later.
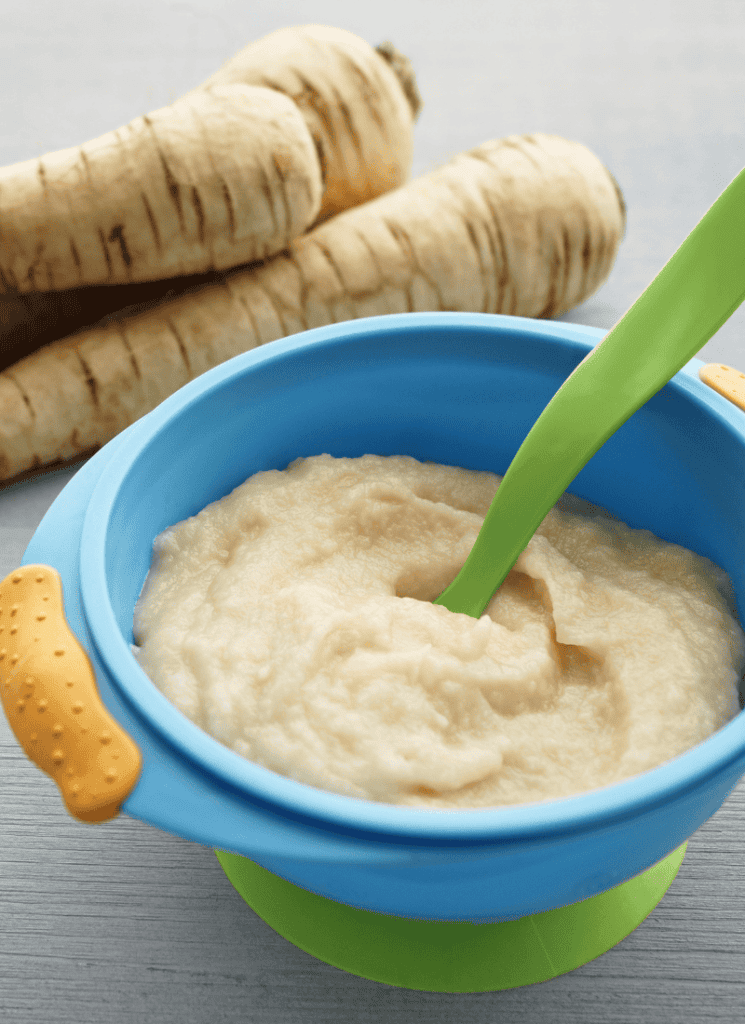
Parsnip Puree
Age Recommendation: 6 months+
What Are the Benefits of Homemade Parsnip Puree?
- It’s full of Vitamin C that helps baby’s immune system
- It’s full of Vitamin K that helps with blood clotting
- Easy to find in any grocery store
- Freezer-friendly
Step-by-Step Instruction for Homemade Parsnip Puree:
- Wash and Remove ends: Wash and remove the ends of the parsnip.
- Peel and chop: Peel and chop the parsnip into equal-sized pieces.
- Steam: Steam the parsnip in a steamer basket until soft -reserve the steamer water because it contains important nutrients.
- Let cool and blend: Let the parsnip chunks cool. Then blend them until smooth.
- Add steamer water: Add steamer water in little steps to get the desired consistency.
- Serve or freeze: Serve the parsnip puree right away or freeze it for later.
Pea Puree
Age Recommendation: 6 months+
What are the Benefits of Homemade Pea Puree?
- Full of protein that helps baby’s growth
- Full of fiber that helps baby’s digestion
- Easy to find in any grocery store
- Freezer-friendly
Step-by-Step Instruction for Homemade Pea Puree:
- Steam: Steam the peas in a steamer basket for about ten minutes (until they are soft) -reserve the steamer water because it contains important nutrients.
- Let cool and blend: Let the peas cool and blend them,
- Add steamer water: Add steamer water to get the preferred consistency.
- Serve or freeze: Serve pea puree right away or freeze it for later.

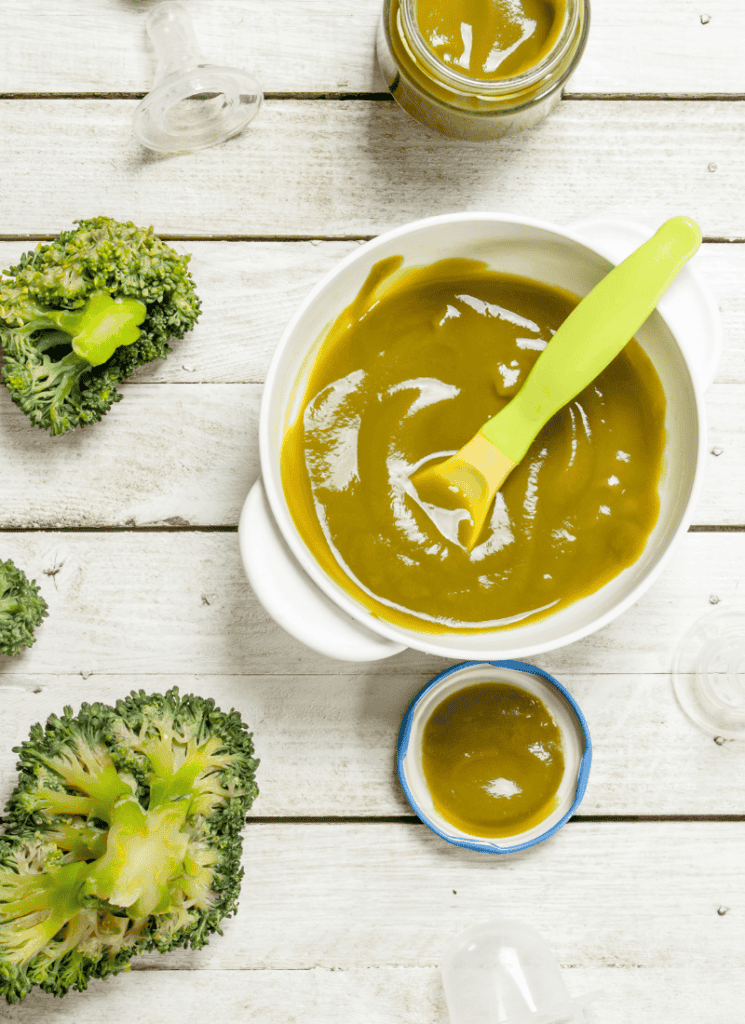
Broccoli Puree
Age Recommendation: 6 months+
What are the Benefits of Homemade Broccoli Puree?
- Full of Vitamin C that helps baby’s immune system
- Full of Calcium that strengthens baby’s bones
- Full of Fiber that helps baby’s digestive system
- Easy to find in any grocery store
- Freezer-friendly
Step-by-Step Instruction for Homemade Broccoli Puree:
- Wash and Chop: Wash Broccoli and chop it into equal-sized florets.
- Steam: Steam the broccoli in the steamer basket until soft. It takes around 15 minutes.
- Let cool and blend: Let the broccoli cool. Then blend it to the preferred consistency. You won’t need much steamer water because the broccoli contains a lot of water.
- Serve or freeze: Serve broccoli puree right away or freeze it for later.
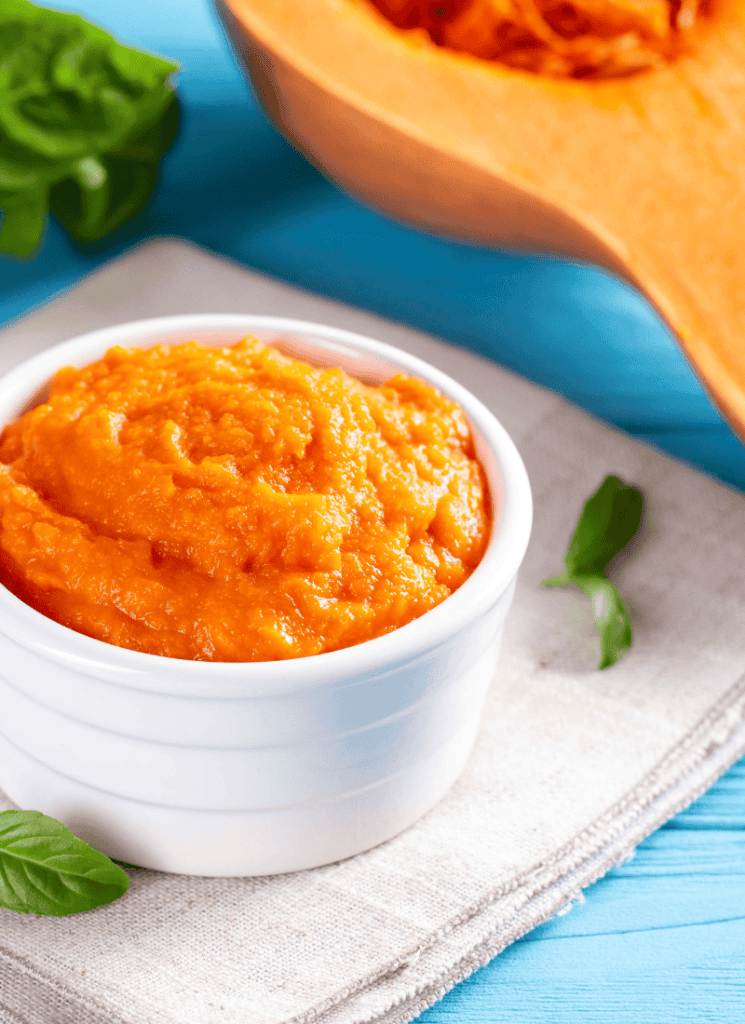
Butternut Squash Puree
Age Recommendation: 6 months+
What are the Benefits of Homemade Butternut Squash Puree?
- Full of beta carotene, which is needed to produce Vitamin A (good for eyes, skin and immune system)
- Full of Vitamin K that helps with blood clotting
- Easy to find in grocery stores during autumn and winter months
- Freezer-friendly
Step-by-Step Instruction for Homemade Butternut Squash Puree:
- Wash, peel and cut off the ends: Wash, peel and cut off the ends of the butternut squash. You might need gloves because raw butternut squash can irritate sensitive skin. This is also the reason why you should wash your hands after handling raw butternut squash and before touching your baby.
- Cut in half and scoop out the seeds: Cut butternut squash in half (lengthwise) and scoop out the seeds and fibers with a spoon
- Chop: Chop butternut squash into little equal-sized chunks
- Steam: Steam butternut squash on low heat until it’s soft (it takes around 15 minutes – depending on the size of the chunks)
- Let cool and blend: Let butternut squash cool and blend until smooth.
- Add steamer water: Add steamer water to get the preferred consistency.
- Serve or freeze: Serve butternut squash puree right away or freeze it for later.
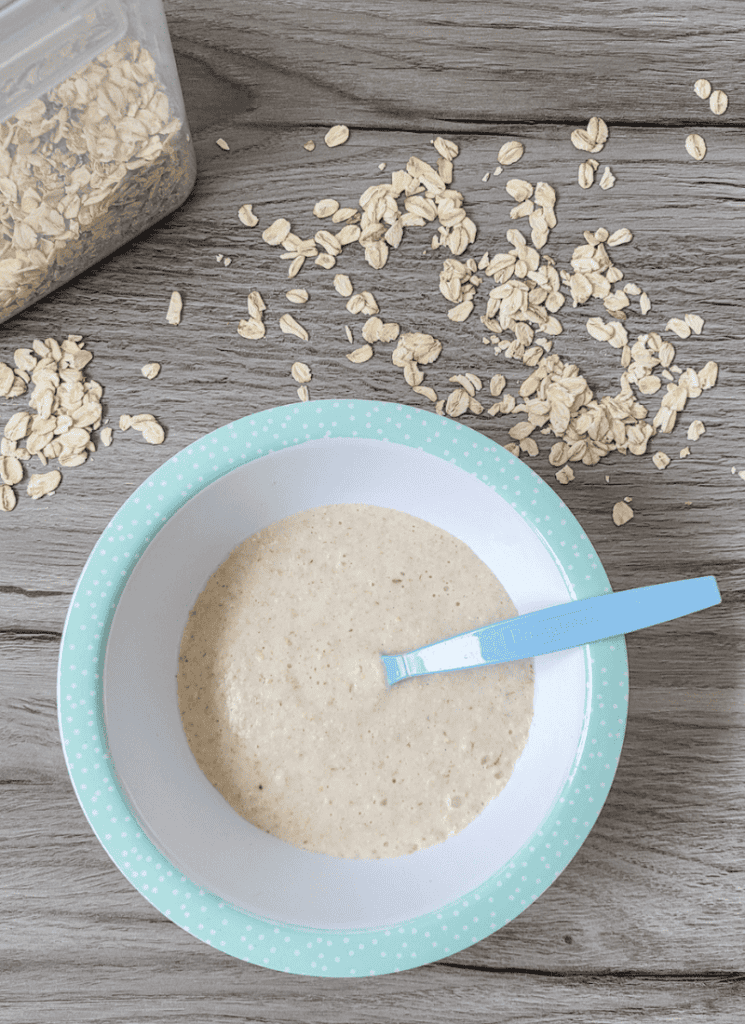
Oatmeal Puree
Age Recommendation: 6 months+
What are the Benefits of Homemade Oatmeal Puree?
- Full of Iron which helps baby blood cells move oxygen in their body
- Full of antioxidants and nutrients
- Easy to find in any grocery store
- Perfect Meal for Mom and baby
- Fast to prepare
- (eventually) Freezer friendly – I never froze it but other sources say you can freeze Oatmeal Puree
Step-by-Step Instruction for Homemade Oatmeal Puree:
- Boil: Bring two cups of water to a boil.
- Simmer: Add 1 Cup of Oats (steel-cut oats contain the most nutrients). Reduce the heat, and let simmer for 5 minutes.
- Let cool and blend: When the Oats have absorbed the water and are soft, let them cool. Then blend until smooth.
- Add Liquid: Add water, Formula, or breast milk to get the right consistency.
- Serve or freeze: Serve Oatmeal puree right away or freeze it for later.
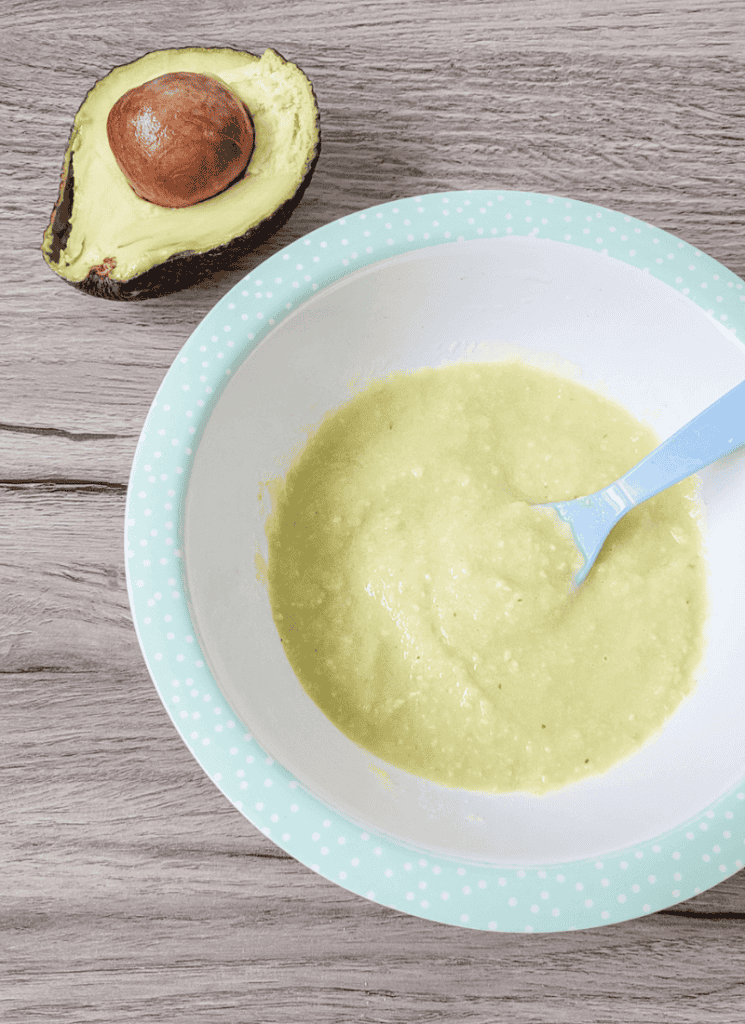
Avocado Puree
Age Recommendation: 6 months+
What are the Benefits of Homemade Avocado Puree?
- Full of healthy fats that help baby’s brain develop
- Full of fiber that helps baby’s digestion
- Super fast to prepare (no cooking or blending needed)
- Easy to find in any grocery store
- Freezer-friendly
Step-by-Step Instruction for Homemade Avocado Puree:
- Cut: Cut Avocado Lengthwise.
- Remove: Remove the pit.
- Scoop: Scoop out the flesh with a spoon.
- Mash or blend: Mash Avocado with a fork or blend it.
- Add Liquid: Add water, Formula, or breast milk to get the right consistency
- Serve or freeze: Serve Avocado puree right away or freeze it (if you want to freeze it, add a little bit of lemon juice to prevent avocado from browning).
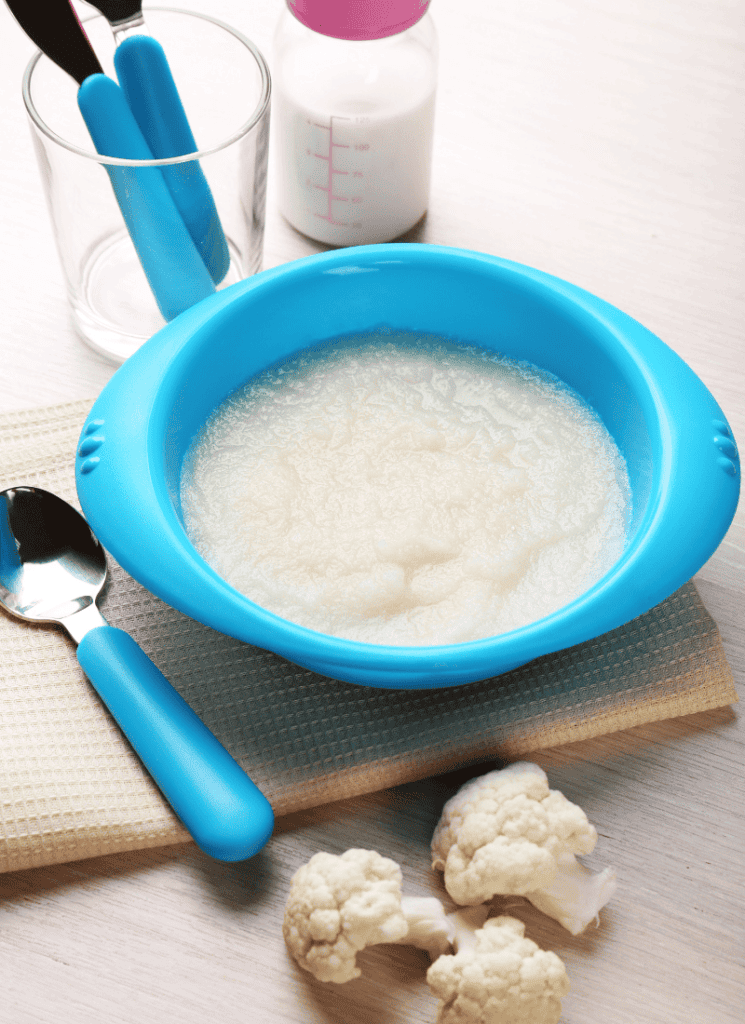
Cauliflower Puree
Age Recommendation: 6 months+
What are the Benefits of Homemade Cauliflower Puree?
- Full of Vitamin C that helps baby’s immune system
- Full of Vitamin K that helps with blood clotting
- Full of Fiber that helps baby’s digestive system
- Easy to find in any grocery store
- Freezer-friendly
Step-by-Step Instruction for Homemade Cauliflower Puree:
- Prep: Remove base and leaves from the cauliflower.
- Wash and Chop: Wash Cauliflower and chop it into equal-sized pieces. Don’t worry about the florets looking pretty.
- Steam: Steam the cauliflower in the steamer basket until soft. It takes around 15 minutes.
- Let cool and blend: Let the Cauliflower cool. Then blend the Cauliflower to the preferred consistency. You won’t need much steamer water because the cauliflower contains a lot of water.
- Serve or freeze: Serve Cauliflower puree right away or freeze it for later.
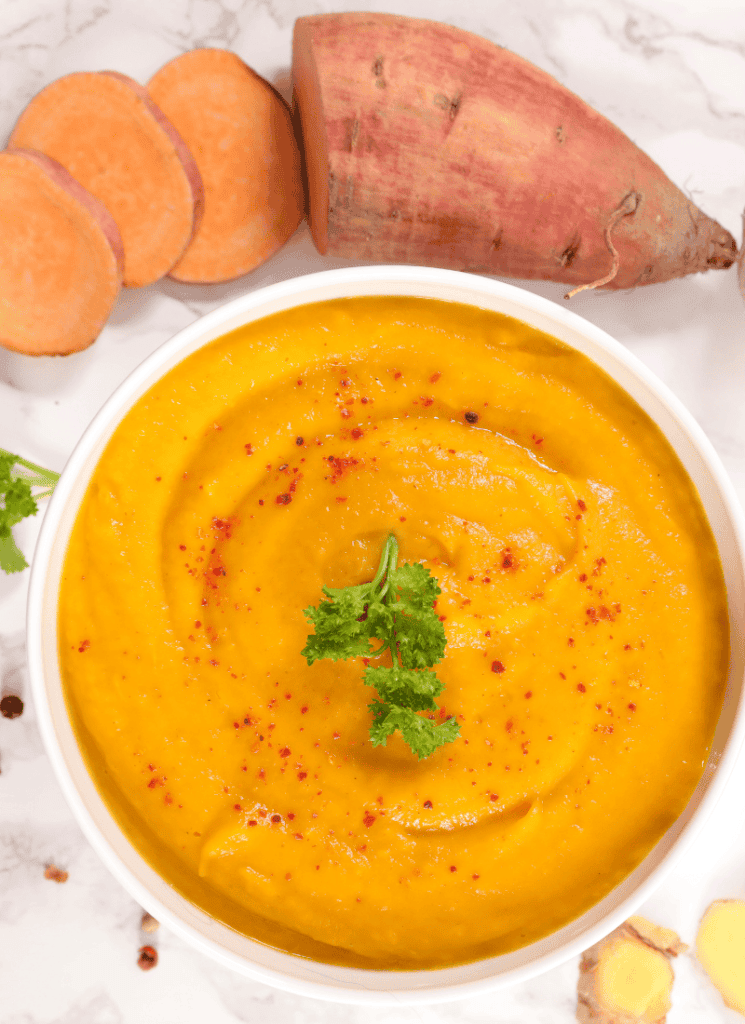
Sweet Potato Puree
Age Recommendation: 6 months+
What are the Benefits of Homemade Sweet Potato Puree?
- Full of Vitamin A that supports the healthy development of baby’s eyes
- Full of protein that helps baby’s growth
- Full of fiber that helps baby’s digestion
- Easy to find in any grocery store
- Freezer-friendly
Step-by-Step Instruction for Homemade Sweet Potato Puree:
- Peel and chop: Peel and chop the sweet potato into equal-sized pieces.
- Steam: Steam the sweet potato in a steamer basket until soft. Reserve the steamer water.
- Let cool and blend: Let sweet potato cool. Then blend it until smooth.
- Add steamer water: Add steamer water in little steps to get the desired consistency.
- Serve or freeze: Serve sweet potato puree right away or freeze it for later.
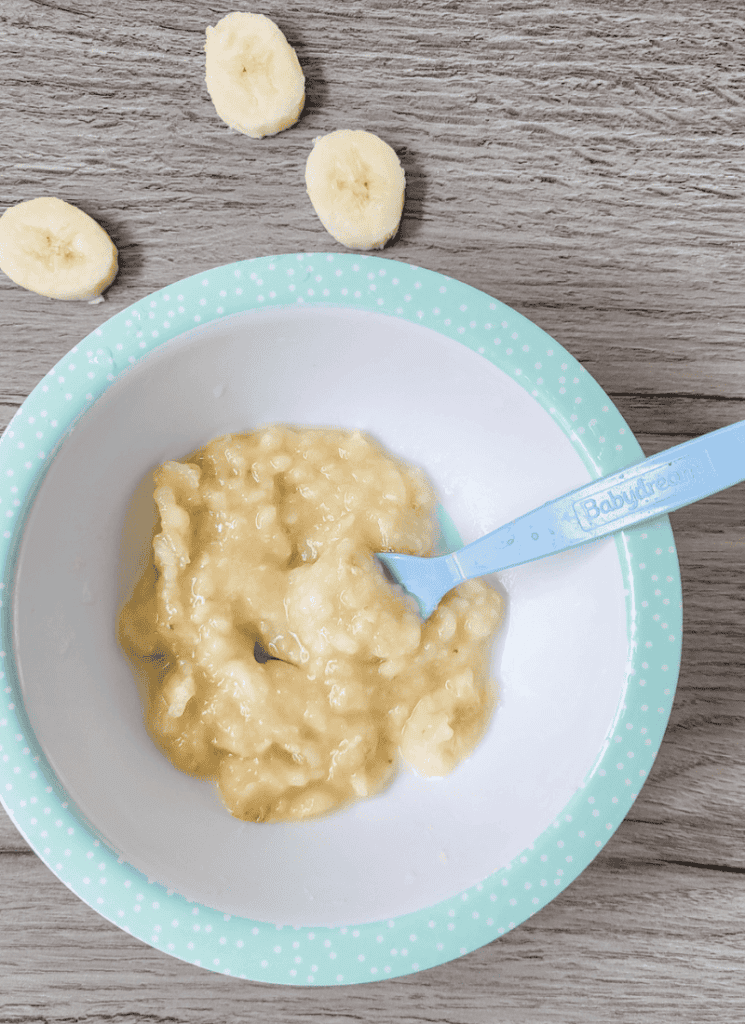
Banana Puree
Age Recommendation: 6 months+
What are the Benefits of Homemade Banana Puree?
- Full of Vitamin C which helps baby’s immune system
- Full of Potassium which sends nerve signals and regulates muscle contractions
- Super fast to prepare (no cooking or blending needed)
- Easy to find in any grocery store
Step-by-Step Instruction for Homemade Banana Puree:
- Peel: Peel Banana.
- Mash or blend: Mash the banana with a fork or blend it.
- Add Liquid: Add liquid like water, breast milk or formula to get the right consistency.
- Serve: Serve Banana Puree right away (it’s not freezer-friendly).
Apple Puree
Age Recommendation: 6 months+
What are the Benefits of Homemade Apple Puree?
- Full of Vitamin C that helps baby’s immune system
- Full of Fiber that helps baby’s digestive system
- Easy to find in any grocery store
- Perfect Meal for Mom and baby
- Freezer-Friendly
Step-by-Step Instruction for Homemade Apple Puree:
- Peel, Core and chop: Peel and core apples. Chop apples into equal-sized pieces.
- Steam: Steam apples in a steamer basket until soft (it takes around 15 minutes). Reserve the steamer water because it contains nutrients.
- Let cool and blend: Let the steamed apples cool. Then blend them until you have a smooth puree.
- Add steamer water: Add steamer water in little steps to get the desired consistency.
- Serve or freeze: Serve apple puree right away or freeze it for later.

I hope you liked my list of 10 Baby Stage 1 Baby Purees. They are all simple to make and I hope you have fun cooking them. In Stage 2 of introducing solids to your baby you can be a little more creative and mix and match.
Don’t forget to follow me on Pinterest to be the first to know when a new Post is up.
xo
Jenny

Leave a Reply